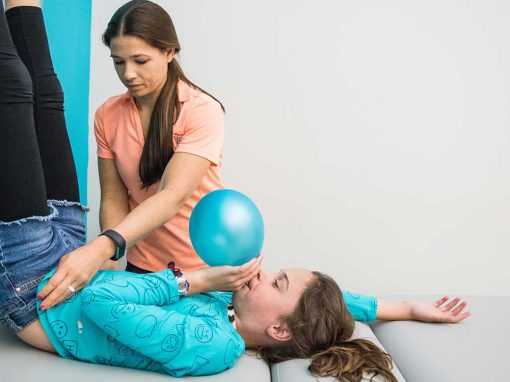
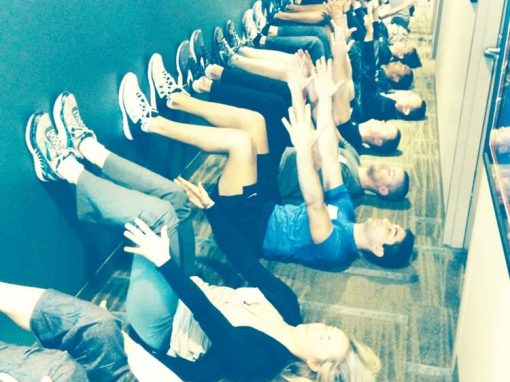
The key to a healthy pelvic floor is maintaining some dynamic rhythmic and balanced movements around the pelvic girdle. As you keep these movements healthy from side to side and front to back, the pelvic floor can maintain proper elasticity to support the movements and pressures you encounter during the day.
Pelvic dysfunction can be scary, unfamiliar, and can seem easier to ignore than to address. Bladder leakage, painful intercourse, and hip, pelvis or back pain are just some of the symptoms that can affect someone’s ability to thrive and live confidently.
At Thrive, we see people in Hampton Roads who have been Kegeling and working on their strength for years, yet continue to have “a weak core,” pelvic floor problems, bladder leakage and/or prolapse issues.
Strong, muscular, CrossFit® athletes with a ripped abdominal physique have come into the studio reporting of bladder leakage with jumping or squatting, yet they work on their “core” daily and continue to have issues feeling balanced around their hips and pelvis.
New or experienced moms who have been through pelvic PT continue to experience long-standing problems the more active they try to be.
We get it. There is confusing info on the internet and some teachings out there are short sighted.
While this article is only a brief snapshot, we hope that it lays a foundation for you to understand your body and movements better, and helps you to stand and move more confidently while doing the activities that bring you joy!
The basis of pelvic floor health is understanding that the pelvic floor is only one component of a bigger system.
It’s one small part of you, yet is greatly influenced by the function and movements of other postural parts.
For many reasons, the pelvic floor muscles can become weak, tight or spastic. The pelvis can also become misaligned and out of sync with your arms and legs causing unwanted tension and poor control.
The good news is that most of the time, the pain, tension and dysfunction is caused by a mechanical muscular problem that can respond well to realigning or engaging some key relationships.
Tilt
The pelvis needs to maintain the ability to tilt in sync with your breathing, thoracic cage, abdominals and hamstrings. To keep the contents of this article light and relevant, let’s just look at some basic foundational movements of the thoracic diaphragm and the pelvic floor diaphragm.
The diaphragms of the body are horizontal, trampoline-like muscles that separate cavities or regions of the body. It’s very important that the thoracic and pelvic diaphragms can synchronize their movement and muscle control for pelvic and core health.
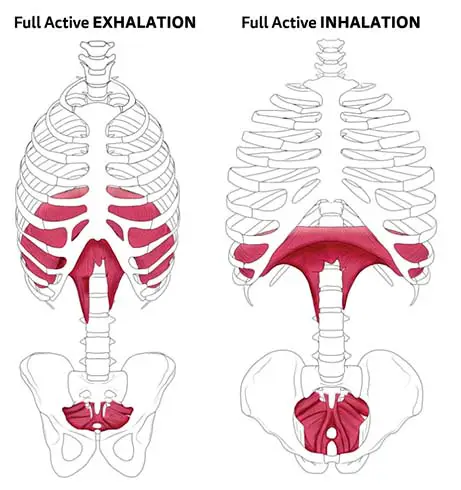
The full active exhalation image shows pelvic thoracic posturing with the abdominals, hamstrings, glutes, and adductors well supporting the pelvic thoracic relationship.
The full active inhalation image shows the unopposed or unsupported postural changes with too much extension and hyper inhalation. Too much tension is present in the lower back, neck and hip flexors muscles groups.
Notice the shape of the two postures. The movement and positions of the thoracic cage and pelvic bowel are constantly changing shapes throughout the day with all the various ways your body moves. A healthy pelvic floor is able to dynamically adapt and move through, in, out and in-between these end-range postures. When the thoracic and pelvic relationships are well supported with hamstrings, adductors, glutes and abdominals, the pelvic floor muscles are happy and resilient.
When the thoracic and pelvic relationships are strained by too much back extension tone, or too much hip flexor and quad tone, the pelvic floor muscles are strained, stressed and pressured.
90-90 Hip Lift
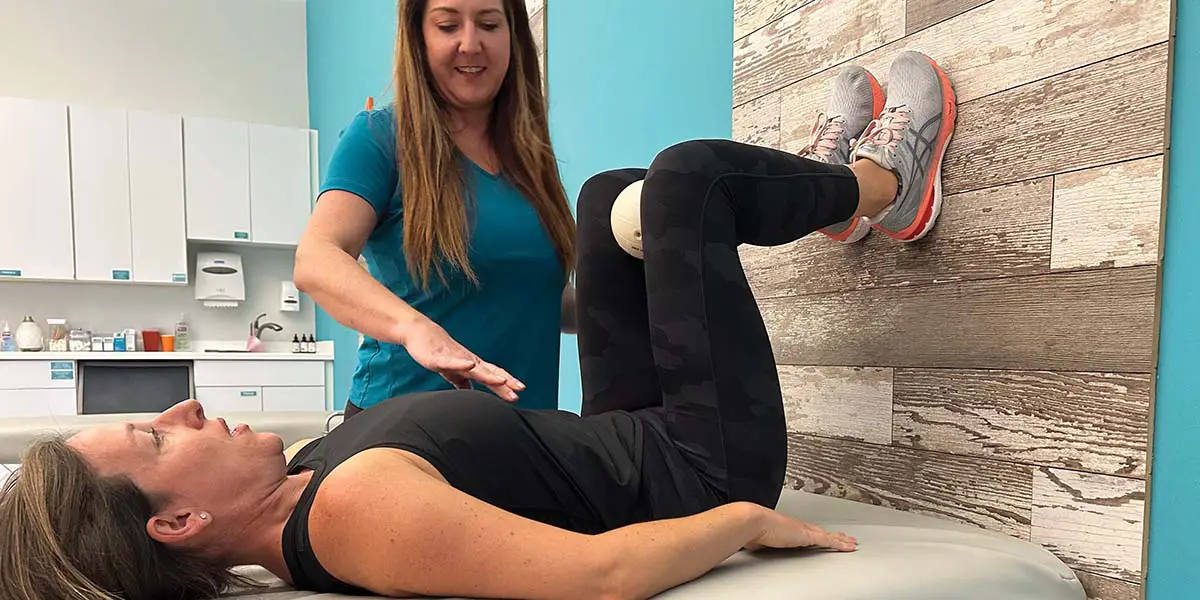
STEP 1: To properly support a foundational layer for pelvic floor health, learn how to reposition your posture and how to engage your hamstrings and your exhalation abdominals in a basic exercise we call the 90-90 Hip Lift.
STEP 2: Lay flat on the floor, perpendicular to a wall. Bend your knees 90 degrees and put your feet flat against the wall, making sure your feet are firmly grounded into the wall. Do not allow your knees to go outside the frame of your body. Your knees should be the same width or slightly inside your feet.
STEP 3: As you exhale, press your feet into the wall, dig your heels down and move your knees upward to rock your tailbone higher than your waist. Keep your back flat against the floor.
STEP 4: Reach around and make sure your hamstrings are engaged. Keep them engaged as you practice sensing your abdominal muscles’ relationship with your breath. Can you feel your deep core abdominals at the end of your exhalation?
STEP 5: The proper positioning of your hamstring and abdominals gets your pelvis in a better position to train your pelvic floor more effectively. The pelvic floor muscles contract on the exhalation in synchronization with your abdominals and proper hamstring support.
Shift
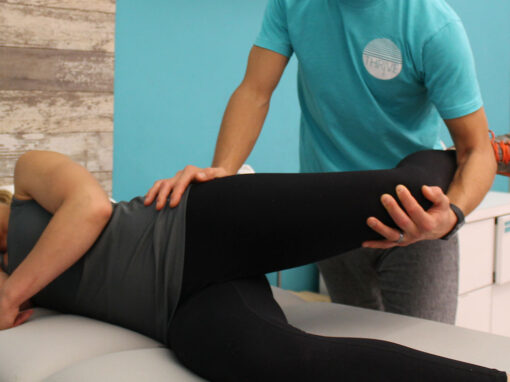
Another key support needed for pelvic health is to learn how to shift your pelvis and pubic bone from side to side and engage your inner thigh muscles at the correct time to do this.
Your inner thigh muscles are constantly regulating the tension in your pelvic floor as you walk. When your weight is shifting over your left leg, your left inner thigh should be working to support your pelvic floor as you stand on your left leg, and then as you walk forward, your weight will transition off of that leg onto your right for your right inner thigh to support you when on your right leg. A lot of people develop pelvic dysfunction when their right inner thigh muscles can’t relax properly. Because of this, the scissor slide activity needs to be done laying on your right more than the left.
Scissor Slides
To assess and work to rebalance the inner thigh muscles, we use an exercise called the Scissor Slides.
STEP 1: Lay on your right side in the 90-90 position.
STEP 2: Roll up a bath towel or use a small ball and place it between your knees. Also place a thin hand towel under your right knee to help cue you to keep your right outside leg against the surface you are laying on.
STEP 3: As you inhale, shift your pelvis back as you slide your left knee behind your right.
STEP 4: Maintaining the movement shift, exhale to squeeze your left knee into the towel roll.
Hike
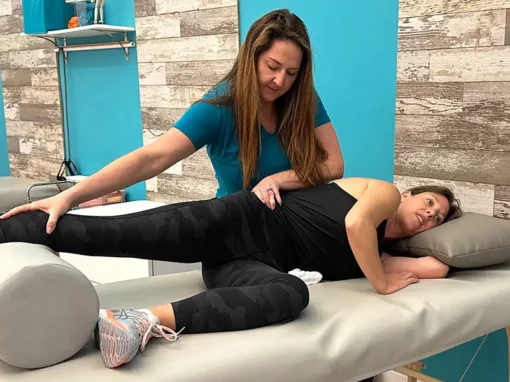
The last of the key pelvic motions you need for pelvic floor health is pelvic hiking. One side of your pelvis should be able to depress as the other hikes slightly higher towards your armpit. This is the hula dancing pelvic motions that are needed to help shift lower back, neck and hip flexion tension.
Due to the fact that we live in a right-handed world, our pelvis often loses the ability to hike on the left side, and if our back is over tightened, it may have lost the ability to hike on either side.
Right Leg Reach
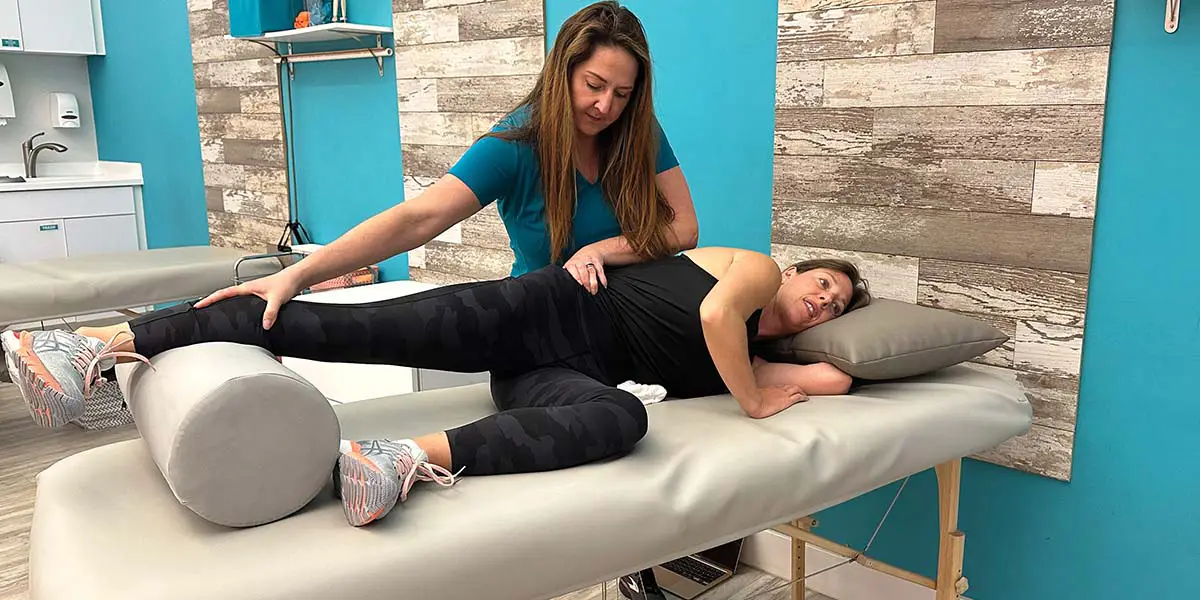
Our Right Leg Reach exercise is our favorite go-to experience to retrain the pelvis to depress on the right side and hike on the left. This exercise is about learning to sense a compression on one side of your body and an elongation or expansion on their other.
STEP 1: Lay on your left side with your top leg straight and in line with your shoulders. The left leg may be bent.
STEP 2: As you exhale, stretch your right foot away from your right armpit and hold your leg there.
STEP 3: Pause and sense your left pelvis pushing down into the surface you are laying on and hiking up toward your left armpit.
STEP 4:Hold this position, gently inhale and exhale again to elongate your right leg even longer. This is creating what we call the “mouse house” space between your body and the surface you are laying on. The abdominal wall on the bottom is shortening while the opposite side is lengthening.
STEP 5: Hold this position for four to five breaths.
The exercises in this article have been modified techniques originally taught by the Postural Restoration Institute®. If you are having chronic pelvic problems—your core, hips, or shoulders feel imbalanced—or you are having any pain, we recommend scheduling a consultation with a certified Postural Restoration Specialist at Thrive Proactive Health in Virginia Beach, or in your area.
