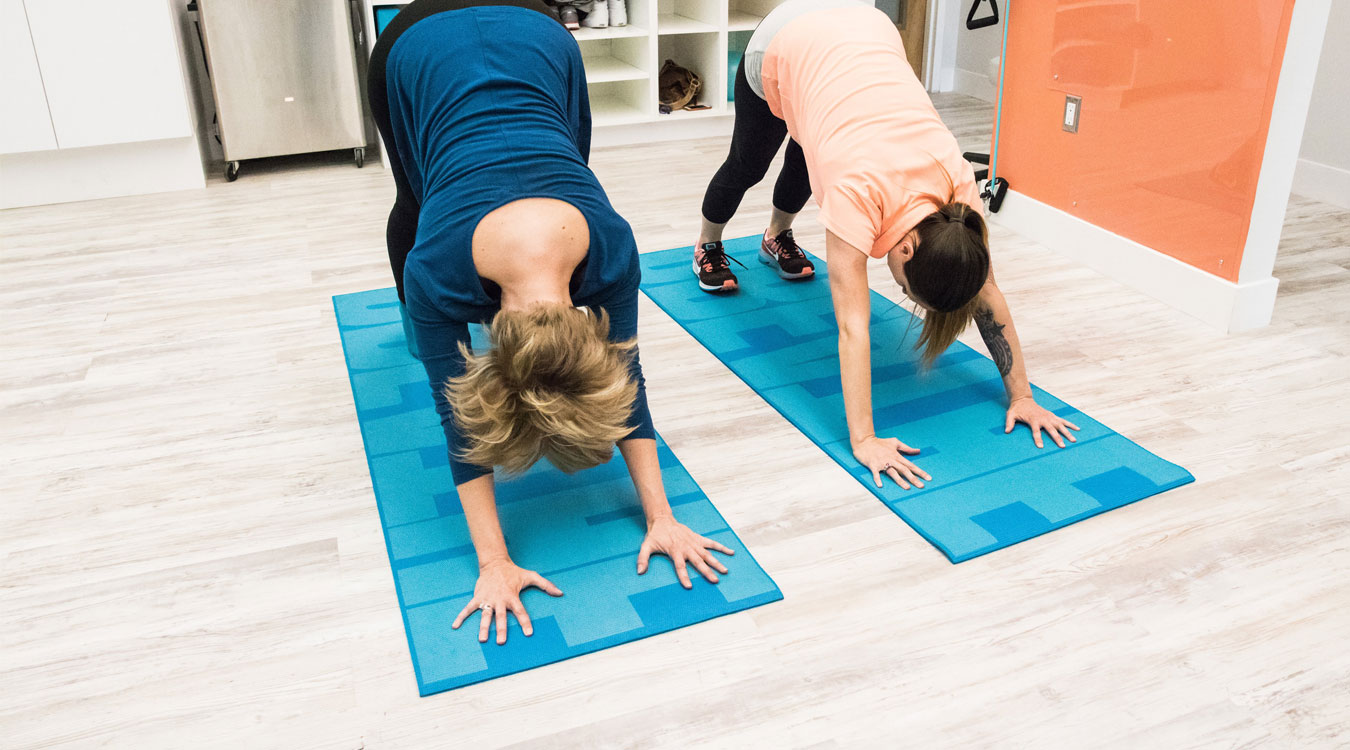
Inchworms – Rounded Downward Dog Walk Outs
From all fours, knees directly under hips and hands under shoulders
- Shift your weight forward so your nose is over your fingertips. Exhale and round up through your mid-back like a “cat” yoga pose
- Extend knees to inhibit hyperactive muscles into a slightly rounded downward dog
- From the downward dog position, take three small steps forward with your feet towards your hands
- Pause and breathe into your back ribs, then walk your hands out 3 steps away from your feet
- Pause and breath into your back
- That is one rep. Repeat sequence 5-10 times. (depending on fitness level). Throughout the exercise, emphasize breathing into your back ribs (and avoid holding your breath).
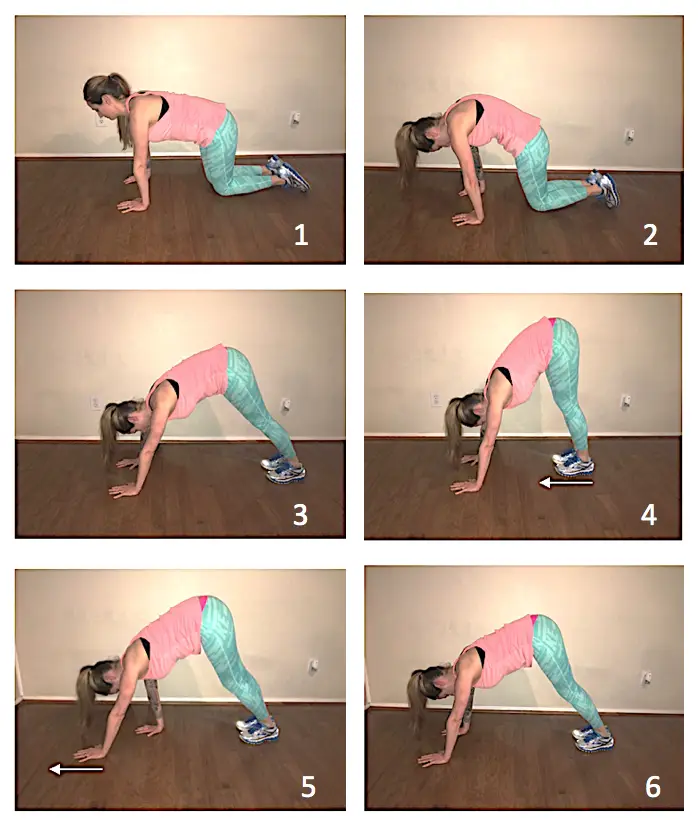
What it does: Turns on key postural muscles throughout your abdominal wall and shoulders while elongating your posterior chain of muscles (which includes your calves, hamstrings, and lower back muscles) reducing the hyperactivity in those tight muscles to allow your spinal curves to rest in a better posture.
Chest Opener and Rib Integrator
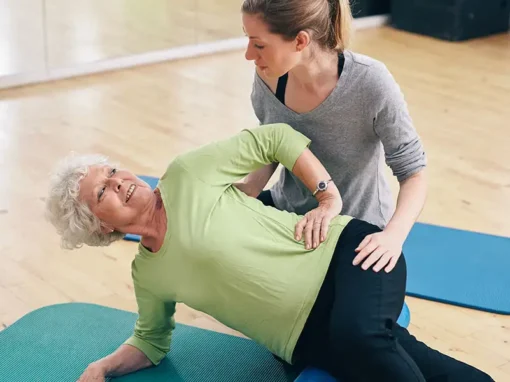
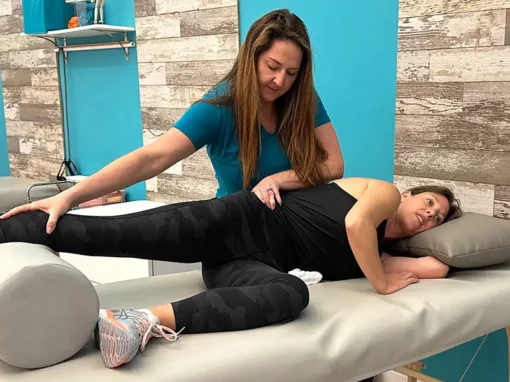
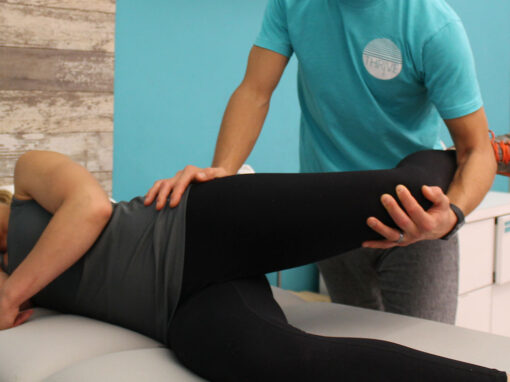
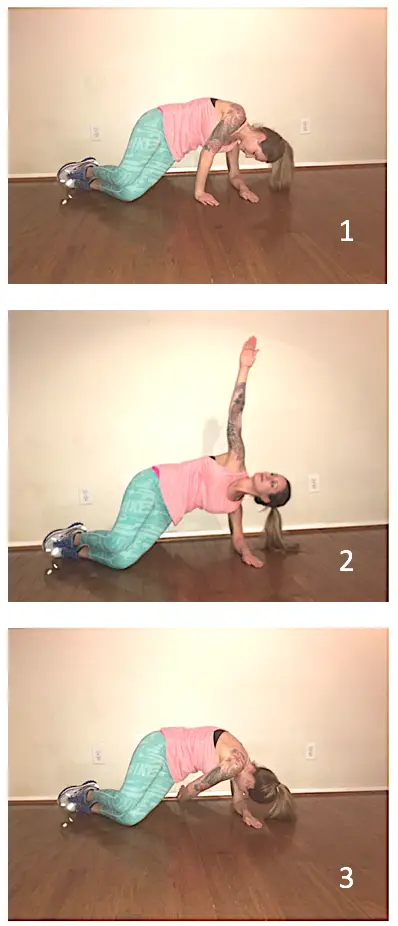
Lay on your side rounded in the side-lying fetal position with your knees bent. Support your head with the bottom arm and straighten your top arm directly in front at shoulder level:
- With your thumb touching the ground, swipe your arm up and around towards 12:00. Allow your head, chest and shoulders to roll back as you keep your thumb in contact with the floor
- Continue to circle around until your thumb comes off the ground or you feel an intense stretch. Hold there for 2-4 breaths. Each time you exhale try to move a little further around
- Circle back around to the start (1) and repeat, each time going back further until you have restored chest wall flexibility and can reach all the way around
- The key to this stretch is to breathe into the restrictions throughout your side and chest wall as you circle the arm around and to maximize your exhale phase of breathing (not the inhale).
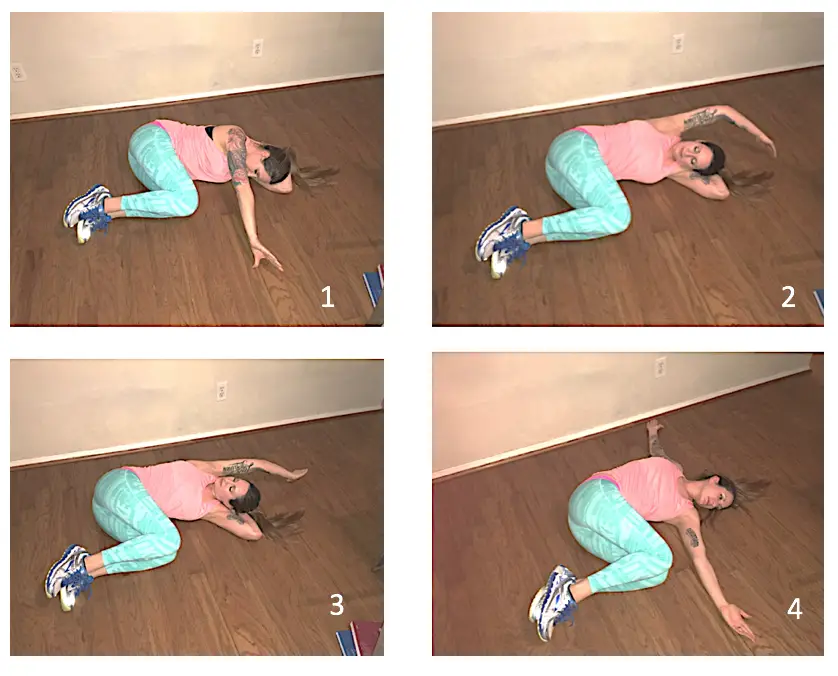
What it does: This is one of our favorite activities to improve chest wall flexibility and get the ribcage moving better for upright posture. This breathing and mobility drill will help reduce the rounded shoulder and forward head posture. Do not look at this as an activity that relies on shoulder mobility. That is a secondary benefit since it elongates the anterior chest wall. This activity primarily helps to protect the spine by helping to keep the ribcage pliable and mobile to absorb shock and dissipate forces throughout our kinetic chain as well as maintain mobility for trunk rotation and functional reaching tasks.
90-90 Pelvic Rock and Lifts
Lie with back flat on the floor, scoot near a wall or back of a closed-door to place your heels on the wall. Keep your knees and hips bent near 90 degrees (you can also do this with heels resting on the center of the seat of a chair. Place your hands on lower ribs, fully exhale to get the ribs down (VERY IMPORTANT) and feel your oblique and deep upper abdominals engage
- Push your feet into the wall and heels downward into the wall (feet don’t actually move, just achieve the sensation of digging your heels downward into an imaginary shelf under your heels) As you dig your heels into the wall, your knees will slightly raise up towards the ceiling to scoop your pelvis under you to lift off your tailbone
- You should feel yourself raise your tailbone from the ground slightly by using mainly your hamstring muscles. The knees stay at 90 degrees the whole time. Hold for 1-3 second(s) then lower down. Do 10-15 reps as you can control holding your ribs down with your oblique abdominals.
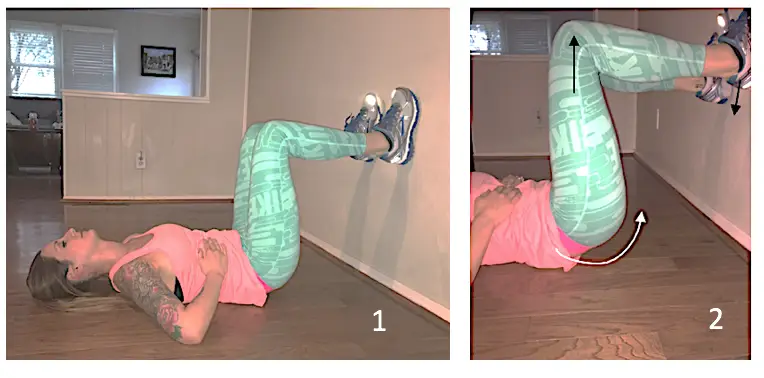
What it does: Works the hamstrings and trains the pelvis to help support and hold the lower spine in its normal natural spinal curvature. The hamstrings are key postural muscle, which often get neglected and overstretched while the pelvis is in a compromised position. Instead of stretching the hamstrings, this activity retrains the hamstrings to support the lower spine and pelvis correctly, and when you improve position of the lower spine and pelvis this releases the excessive tension often found in the hamstrings. Great activity if you feel your hamstrings are tight.
Supported Side Plank with Reach-Through
Lie on your side with elbow bent, forearm on the floor perpendicular to body, knees bent at a 90-degree angle and slightly in front of your pelvis. Press into the side shin and forearm to lift the pelvis up
- Extend the free arm up toward the ceiling
- With control, bring the arm down in front of you and thread the hand in the space between the ribcage and the floor, allowing your pelvis to rotate forward but not to dip back toward the floor. Hold for 1 second
- Then re-extend arm up and hold for 1 second
- Do 10 reaches per side and 2-4 sets each side (depending on fitness level). Avoid holding your breath.
What it does: Works lateral oblique and serratus core muscles and helps to shut off excessive muscle tension in the lower back. This activity helps us maintain frontal plane form and function of our thoracic cage to inhibit hyperactivity in the sagittal plane, as well as integrates with the frontal plane hip muscles to prevent hyperlordosis.
Standing Cross-Connect with AXIAL Elongation
Stand with your feet right below your hips, arms by your sides. Inhale as you start by shifting weight into one foot. As you exhale bring the other knee up to hip level and take the opposite elbow across the body so the knee and opposite elbow touch, crunching slightly and your other arm reaches behind you
- Bring your leg down and kick it slightly behind you (no touching the floor) as you extend your opposite arm up toward the ceiling as you inhale
- The pelvis will elevate on the leg your are standing on, while the side your leg extends back will depress. You may hinge forward slightly but do not arch your lower back, instead really reach up to the ceiling, elongating the body with the arm in line with the body. Do 5 on one side, working up to 10 (as many as you can do with good balance). Then switch sides.
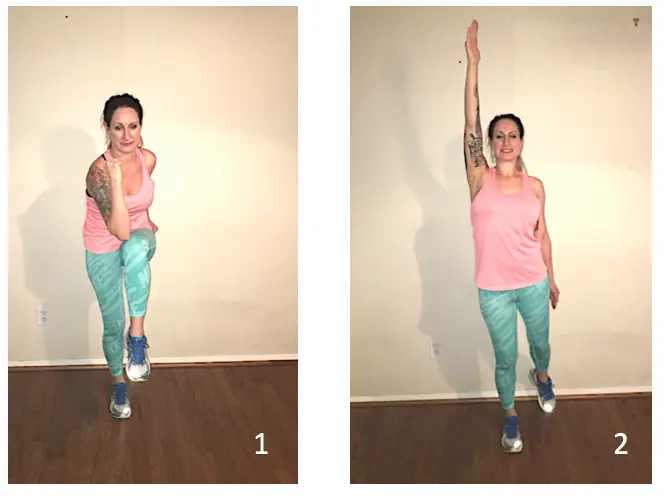
What it does: Works various core muscles through a movement pattern for improved posture during gait. This activity elongates various muscles around the ribcage and lower back, opens up the front of body allowing for trunk rotation, and works frontal plane pelvic mechanics with single leg balance allowing deeper gluteal, pelvic and core muscles to remain active for postural control and balance.
We hope that these five exercises to improve your posture will help. Want to know more than these five exercises to improve it? Contact us today and schedule an appointment!
